+86-13914052243
According to the size and structure of EDM electrodes, they are generally divided into these categories:
1. Integral electrode
This kind of electrode is processed from a single piece of material and is the most commonly used structure.
2. Inlaid electrode
Generally, it is difficult to process the whole electrode with complex shape. It is often divided into several pieces, processed separately, and then assembled into a whole, which is beneficial to electrode manufacturing and material saving.
3. Combined electrode
This kind of electrode is aimed at multiple holes on the same die. We can combine these electrodes to complete the processing of multiple holes at once. However, the position accuracy of each hole and the electrode must be grasped well to ensure the accuracy of processing.
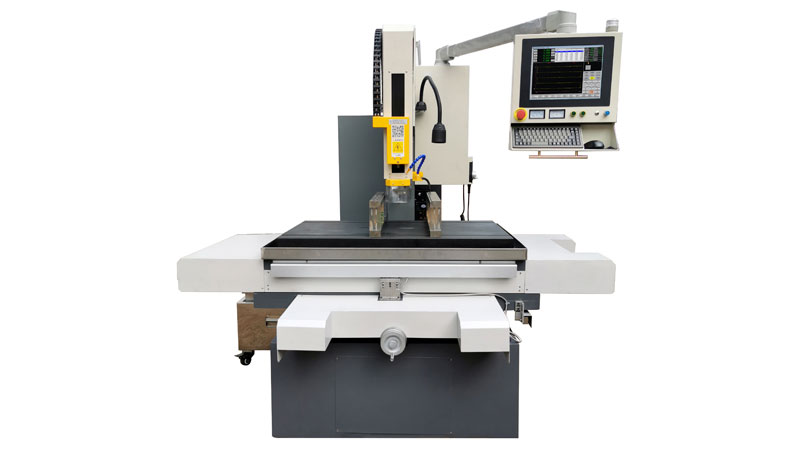
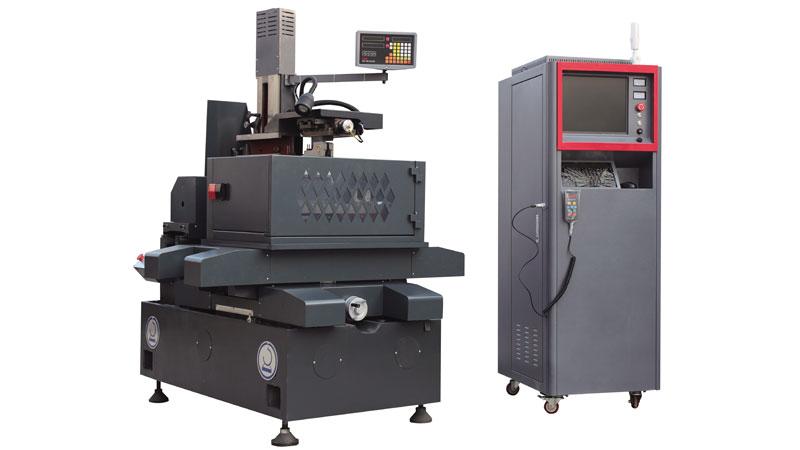
No matter what kind of electrode your EDM spark machine uses, it generally has enough rigidity. For those electrodes that are small in size and easy to deform, you can choose to increase the size of the cross-section outside the working part of the electrode to improve the rigidity. For large-volume EDM spark machine electrodes, reduce the weight of the electrode as much as possible to reduce the deformation of the machine tool.
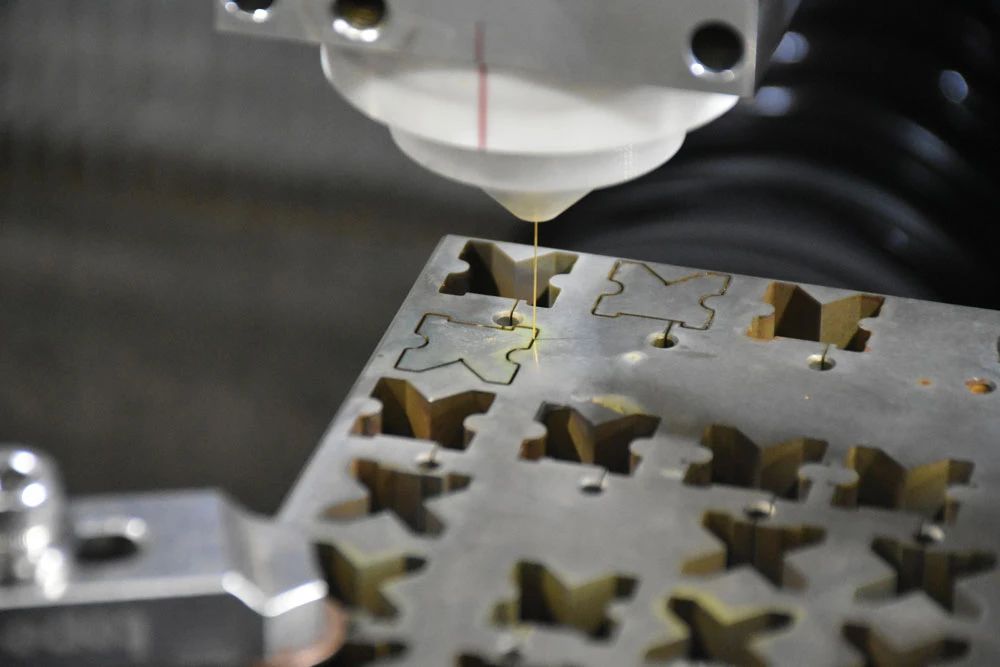
Generally, As one of the professional CNC EDM machine suppliers, we will calibrate the EDM electrode before machining, which is related to the machining position and accuracy, so the most important thing is to calibrate the electrode. The method of EDM calibration is as follows: first, turn off the touch sensing switch of the EDM spark machine, adjust the four-side adjustable screws according to your eyes, after roughly correcting, use the calibration meter to adjust; the table holder is attached to the workbench, and the screw of the calibration body is loosened to make the meter tilt and lock the worktable at 45 degrees. The angle between the needle and the calibrated surface is less than 20 degrees.
First adjust the angle surface, move the X or Y axis, and watch the value change of the calibration table. The screw with the higher value is tight, and the screw with the lower value is loose, but the value is small. When the level of the first is loosened, the screw with the larger value is loose. While the screw with the higher value is loose, and the screw with the lower value is tight, when it is in the horizontal position. The calibration needle jumps when moving. Check whether the calibration head is loose or the surface is uneven. Check the other side after each calibration screw until the electrode is fully corrected.
 GET STARTED